
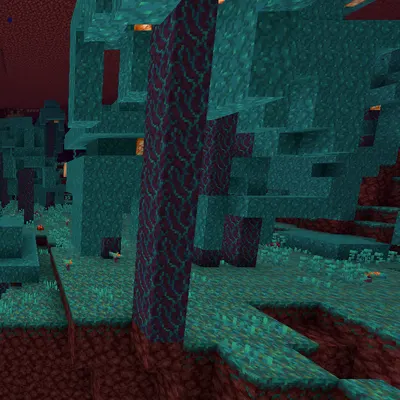
Mods change the mechanics of the game itself — new blocks, dimensions, machines and mobs. Unlike plugins, mods must be installed both on the server and on every player's own machine. That single difference drives both your package choice and what you'll need to ask of your friends.
Mods versus plugins
A plugin runs only on the server: it adds protection regions, economy, leaderboards, land claims and the like, and players connect with standard Minecraft. A mod changes the game itself, and the server's mod list must match each player's list exactly.
If you want server management rather than new content, plugins are enough and far less friction — see the plugin installation guide.
There's one more distinction: a plugin server can be joined from a phone, a modded one cannot. If your group is mixed, that alone may decide it.
Minimum package: why 8 GB?
Mod and modpack installs unlock from the 8 GB Pro package upward. On 2 and 4 GB you can install plugins but not mods; the panel doesn't make mod software selectable there and states the reason plainly.
The reason is simple: a modpack keeps hundreds of new block, item and machine definitions in memory while the server runs. A modded server started with too little memory either stalls or shuts down the first time it fills up, and world files can be damaged in the process. Setting the limit up front beats rescuing a collapsed server later.
A small, curated mod set runs comfortably on 8 GB. With very large packs, performance depends on both mod count and player count; trimming the mod list usually helps more than anything else. We cover this in more depth in the modded server guide.
Step 1 — Pick the right loader
When creating the server, or later from the Software section, you can choose Fabric, Quilt, Forge or NeoForge. Usually the modpack decides for you: a pack works only with the loader it was written for.
Fabric and Forge mods are NOT compatible with each other. The mod's or pack's page states which loader and Minecraft version it needs; pick exactly the same in the panel.
A rough split helps: Fabric is lightweight and usually adapts to new Minecraft releases sooner; Forge and its successor NeoForge are where most large, established modpacks are written. Quilt is an alternative from the same lineage as Fabric.
Step 2 — Install your mods
On a server running mod software, a Mods section appears in the side menu. Its Mod Store searches the Modrinth source; you can sort by most downloaded, newest or recently updated, and install a compatible release with one click. Content that doesn't match your server's version is clearly marked.
For a mod that isn't in the store, or one distributed externally, upload the .jar manually into the mods folder from the Files section. The panel already points this out for externally distributed content.
If the mod has dependencies (Fabric API on the Fabric side, for example), add those too — a missing dependency is the second most common reason a server stops at boot. Restart once after installing so changes take effect.
Step 3 — Client-server matching
Every player joining must install the same mod list and the same versions in their own Minecraft. Some server-side-only performance mods are the exception. A mismatched list throws an error on connect and the player can't get in.
That's why modded servers usually suit small, stable groups: in a system where everyone must run the same setup, a crowd is a management burden by itself.
A practical tip: write the mod list and versions down and share it with the group. When someone new joins, you hand them the same list instead of troubleshooting from scratch.
Running a modpack
The panel has a Modpacks tab you can install a pack from directly. If the pack needs different software or a different version than your server, the panel says so, and with your approval it adapts the software automatically and installs the pack.
Where a version downgrade is involved, your current world isn't deleted — it's set aside under a backup name. Even so, a manual backup before a big change is the cheapest insurance available.
Installation runs in the background and can be followed from the console. When it finishes, restart the server once.
Watch the memory the pack recommends. If it asks for more than 8 GB, that pack may not run smoothly at this scale; trimming the mod list or choosing a smaller pack gives a better experience.
Performance on a modded server
Mods tax both memory and CPU harder than plugins do. If your server gets heavy, first lower view and simulation distance, then eliminate mods one at a time to find the one generating load. The performance guide walks through the diagnostic order.
Tech packs full of always-running machines and large automation produce many times the work of a plain server with the same player count. On packs like that, keeping player numbers low can help more than adding RAM.
Common problems
- Server won't start — read the last console lines. Usually a version mismatch or a missing dependency.
- A player can't connect — the mod lists aren't identical. Compare version numbers one by one.
- Can't join from a phone — that's expected. The Java + Bedrock bridge only works on plugin-family software, not on mod loaders.
- Mod software can't be selected — your package is below 8 GB. Resize it from the Resources section and it becomes selectable.
- The server got heavy — reduce mod count, lower view distance, revisit player numbers.
You can change mod software later too: stop the server and pick different software from the Software section. When the family changes, the old family's content is saved into a profile and comes back intact if you return — even so, we recommend taking a manual backup first.